How to install Julia from pre-built binaries
You download pre-built binaries of the latest version from this page. There are binaries for Windows, Linux, and Mac. The current stable release is 1.6.3.
After downloading the binaries for your operating system, follow the procedures below to install Julia. More detailed explanations are available here.
On Windows
On Windows 10 and 11, the easiest way to install Julia is through the Windows Store. It will automatically install the latest version, add Julia to PATH, and keep the Julia version up to date.
On older versions of Windows, run the downloaded installer with the default settings. Julia will be available by clicking on its icon. But to be able to call Julia form the command prompt or PowerShell, we need to add Julia to the windows “path”. To that end:
- Open the command prompt by pressing the Windows and R key simultaneously.
- Type
sysdm.cpland press enter. - Go to the
Advancedtab in the window that opens and then click onEnvironment Variables. - Select the
Pathvariable under user variables. - Click on
Editand paste the following line by clickingAdd:C:\Users\{your user name}\AppData\Local\Julia-1.X.Y\bin. Note that you need to replace{your user name}with the username of your PC account (you can check it by looking inside the “C:\Users\” folder), and X and Y are the middle and minor version numbers of the installer you downloaded (they will be in the installer file name).
On Mac
Double click the downloaded disk image to load it. Then, drag the Julia-1.X.Y app onto the Applications folder shortcut. To run Julia, you can double-click the icon of the Julia package in the Applications folder. To run from terminal, add the path name of the Julia binary executable that lives inside the Julia application bundle to your PATH:
First, find the location of the Julia binary:
$ ls /Applications/Julia*/Contents/Resources/julia/bin/julia
Then, add the following line to ~/.bash_profile file. Replace the exact path with what you found above:
PATH="/Applications/Julia-1.1.app/Contents/Resources/julia/bin/:${PATH}"
export PATH
You can alternatively create a link to the Julia binary and put it into the /usr/local/bin directory:
ln -fs "/Applications/Julia-1.1.app/Contents/Resources/julia/bin/julia" /usr/local/bin/julia
On Linux
First, unzip the downloaded folder. You can then make an alias to the julia binary to call it from any place. To do that, add the following line to the end of ~/.bashrc file:
alias julia='{path to the downloaded folder}/bin/julia'
You should replace {path to the downloaded folder} with the actual path on your system.
IDEs
There are a number of choices for an IDE that supports Julia.
Visual Studio Code by Microsoft
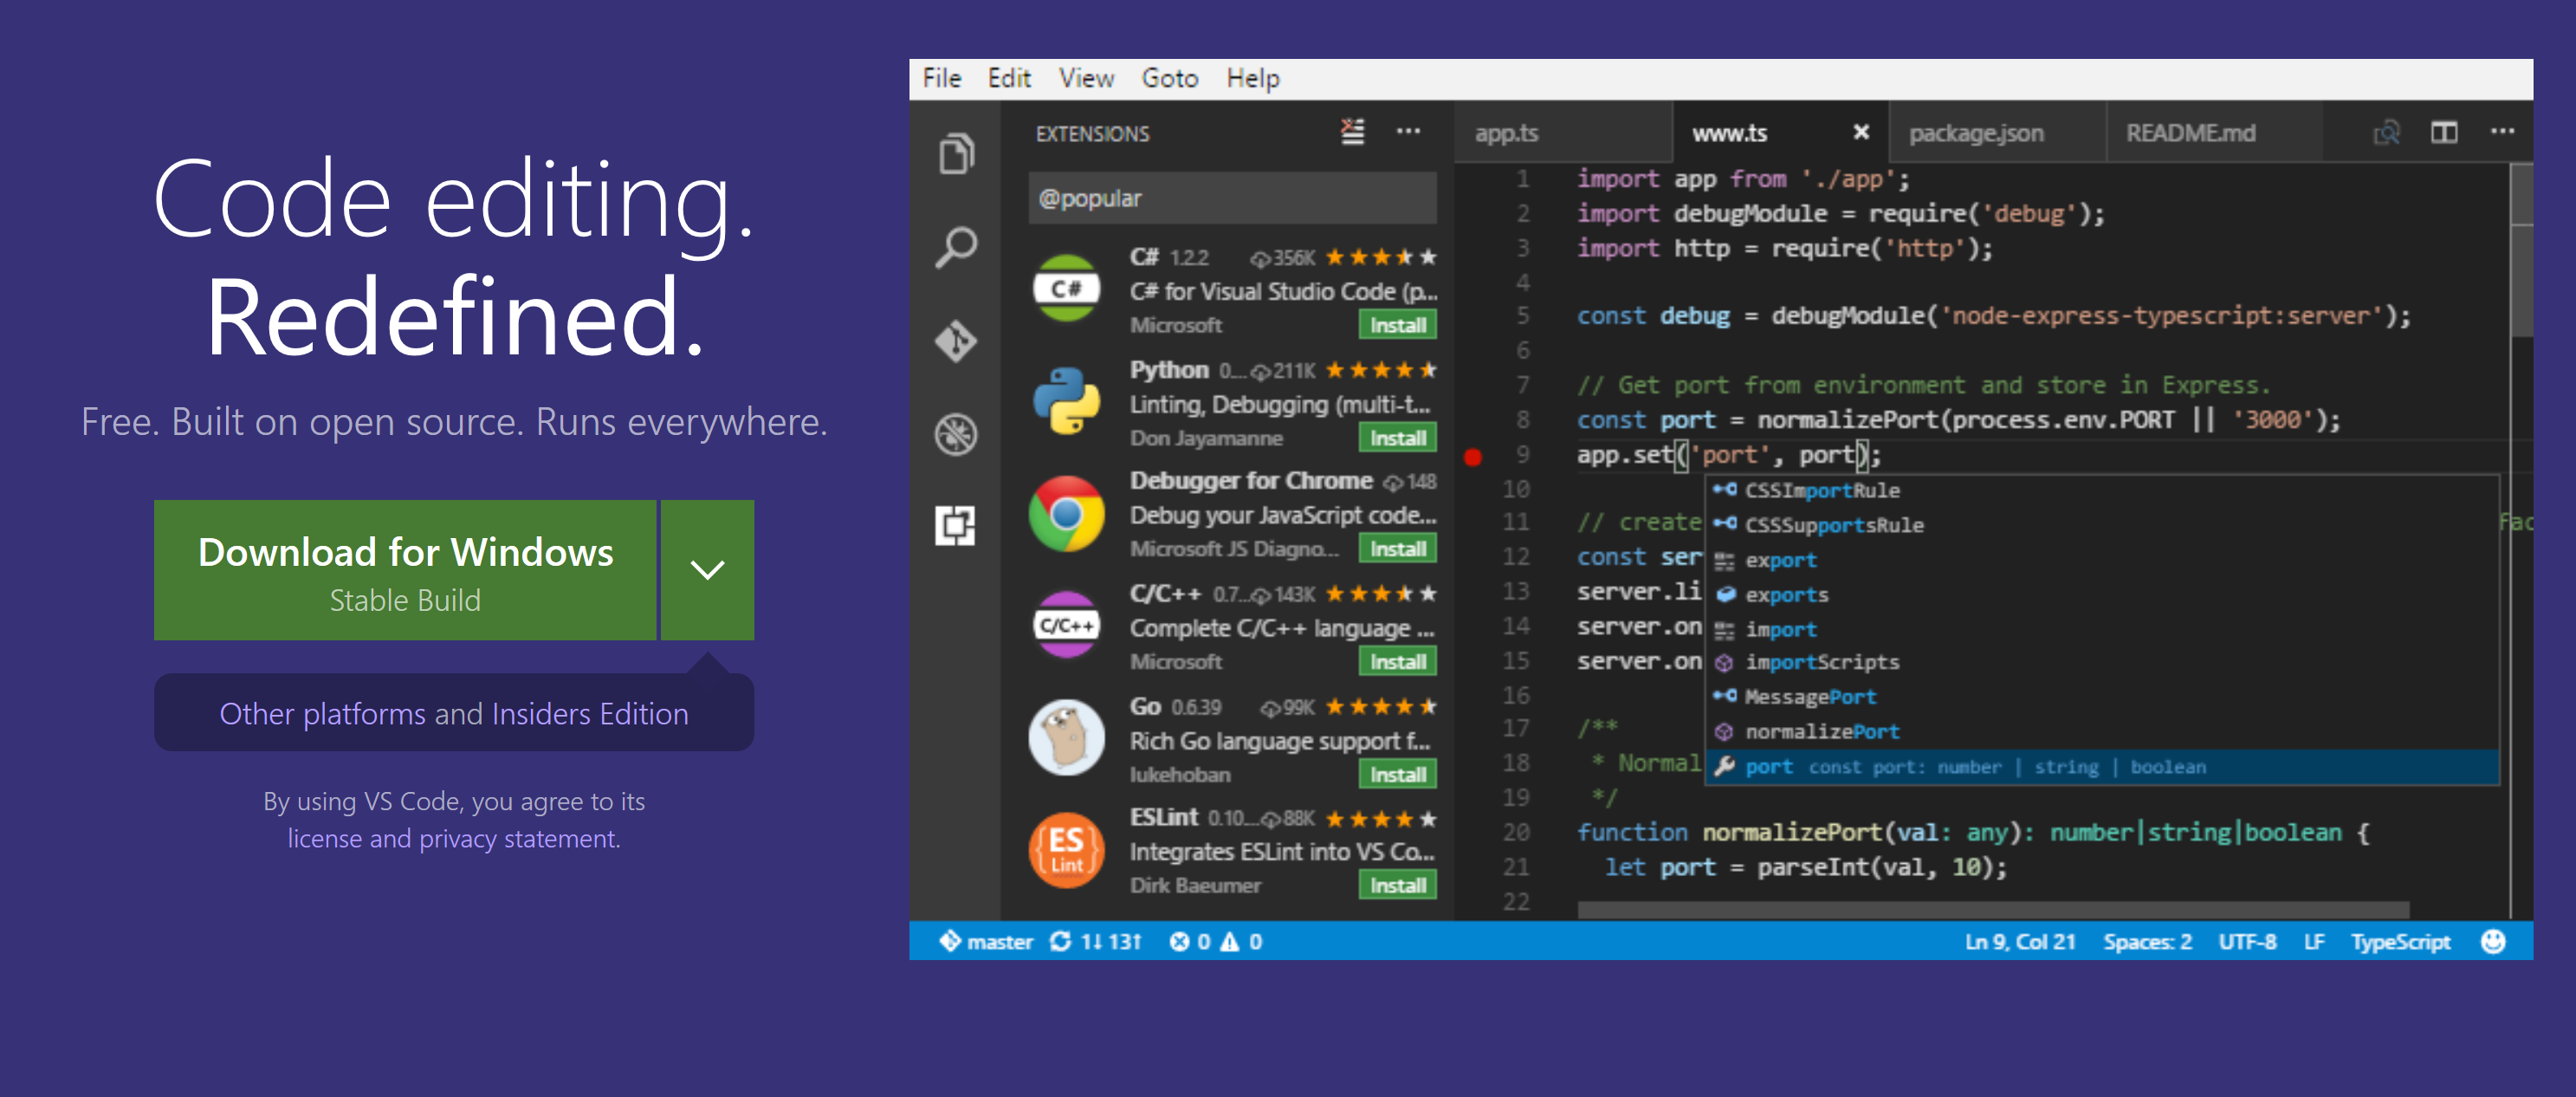
VS Code is already the most popular code editor since its release in 2015 1. Adding the right plugins, VS Code can take on most of the tasks of an IDE. Due to its design, it performs faster than Atom, on which Juno is built, especially for viewing large files.
Install from here. If your laptop is not too old, you can choose the 64 bit version. After installation, add the Julia plugin by pressing Ctrl, Shift, and X simultaneously inside the application and typing “Julia” in the search area.
Pluto
Pluto.jl is a reactive notebook for Julia. It allows you to create and share documents that contain code, equations, visualizations and narrative text. Installing Pluto is as easy as any other package.
Pluto automates some tasks required for reproducibility. In Pluto, we do not need to explicitly install packages. Initializing a package by using installs the package and adds the id of the installed package within the notebook file. Thus, if you send the notebook to another person or use it at some time in the future, you will use exactly the same versions of the packages, irrespective of what other versions are installed on your computer.